Jira timer: how to start a timer on a Jira issue
Jira has no built-in timer, only a Log work field. Here are four ways to get a clock on an issue, from a scratch-file note to a desktop app that writes the worklog.
On this page
The whole built-in mechanism is the Log work dialog on every issue, where you type a duration after the fact. Anything that counts while you work has to come from outside Jira’s own UI, and there are three places it can live: a Marketplace app that adds a button to the issue view, a browser extension that adds one to the page, or a desktop app that runs the timer next to your system clock and writes the worklog when you stop. Which one fits depends on who can install it and where you want the hours to end up.
We build one of the desktop options, Planim Time, so the last section is about our own code. The first three are about the alternatives, and the wider question of logging time at all, timer or not, is in how to track time in Jira.
What Jira gives you: Log work, no clock
Open an issue, click the three-dot menu, pick Log work. The dialog asks for Time spent in Jira’s duration format (2h 15m), a Date started that defaults to the moment you opened the dialog, and an optional description. Details in how to log work in Jira.
The dialog cannot count, so people who want timer accuracy without installing anything improvise. A line in a scratch file (PROJ-142 started 10:20) is the usual version, some drag a calendar block over the hour, some run the stopwatch on a phone. Any of these holds up for a couple of entries a day, and all of them fail the same way: Date started stays at the default, which is when you typed the entry rather than when you did the work, so the worklog says 17:40 for something that happened at 10:20. After eight context switches the evening turns into a reconstruction job, and Jira time tracking for developers is mostly about avoiding it.
If you are on the scratch-file method today, that is the step a desktop timer removes: in Planim Time you click the play button on the issue row instead of writing down the time, and Stop produces a pending entry that already carries the real start time and duration, ready to push to the issue as a normal worklog. The note you would have written goes into a comment field while the timer runs.
Marketplace apps: a timer button inside the issue
Clockwork, Tempo Timesheets and the Clockify app for Jira all add a start/stop control to the issue view. Once a site admin installs the app from the Atlassian Marketplace, every user sees the button. Clockwork writes the hours as Jira worklogs under your name, Tempo Cloud keeps the full record on its side and mirrors an anonymised row into Jira, and Clockify keeps its own entry and syncs a worklog back.
Living inside Jira has two consequences. Someone with site admin rights has to install the app, and on many sites that means a procurement round instead of a click (Jira time tracking without admin rights separates that gate from ordinary project permissions). The timer is also a panel in the Jira page, so it runs only while the tab is open and Jira Cloud is up. Close the tab, let the session expire or sit through an Atlassian incident and the control goes with it. Whether the running entry survives depends on the app. A solo engineer who only wants the clock ends up paying, in seats or in admin time, for the rest of the product as well.
Browser extensions: a button on the page, hours somewhere else
Toggl Track and Clockify both ship browser extensions that detect a Jira issue page and add a start button next to the title. Setup is per user: install the extension, sign in to the vendor’s account, and the button appears on the next issue you open.
What the button does not do is write to Jira. The extension records the entry in Toggl’s or Clockify’s cloud with the issue key as the description, and a worklog appears on the issue only if a separate integration writes one: for Clockify that is the Marketplace app from the previous section, for Toggl an extra sync outside the extension. On the plus side, a closed tab does not stop the clock, since the vendor holds the entry, though you have to reopen a page to see whether it is still running.
A desktop timer that writes the Jira worklog
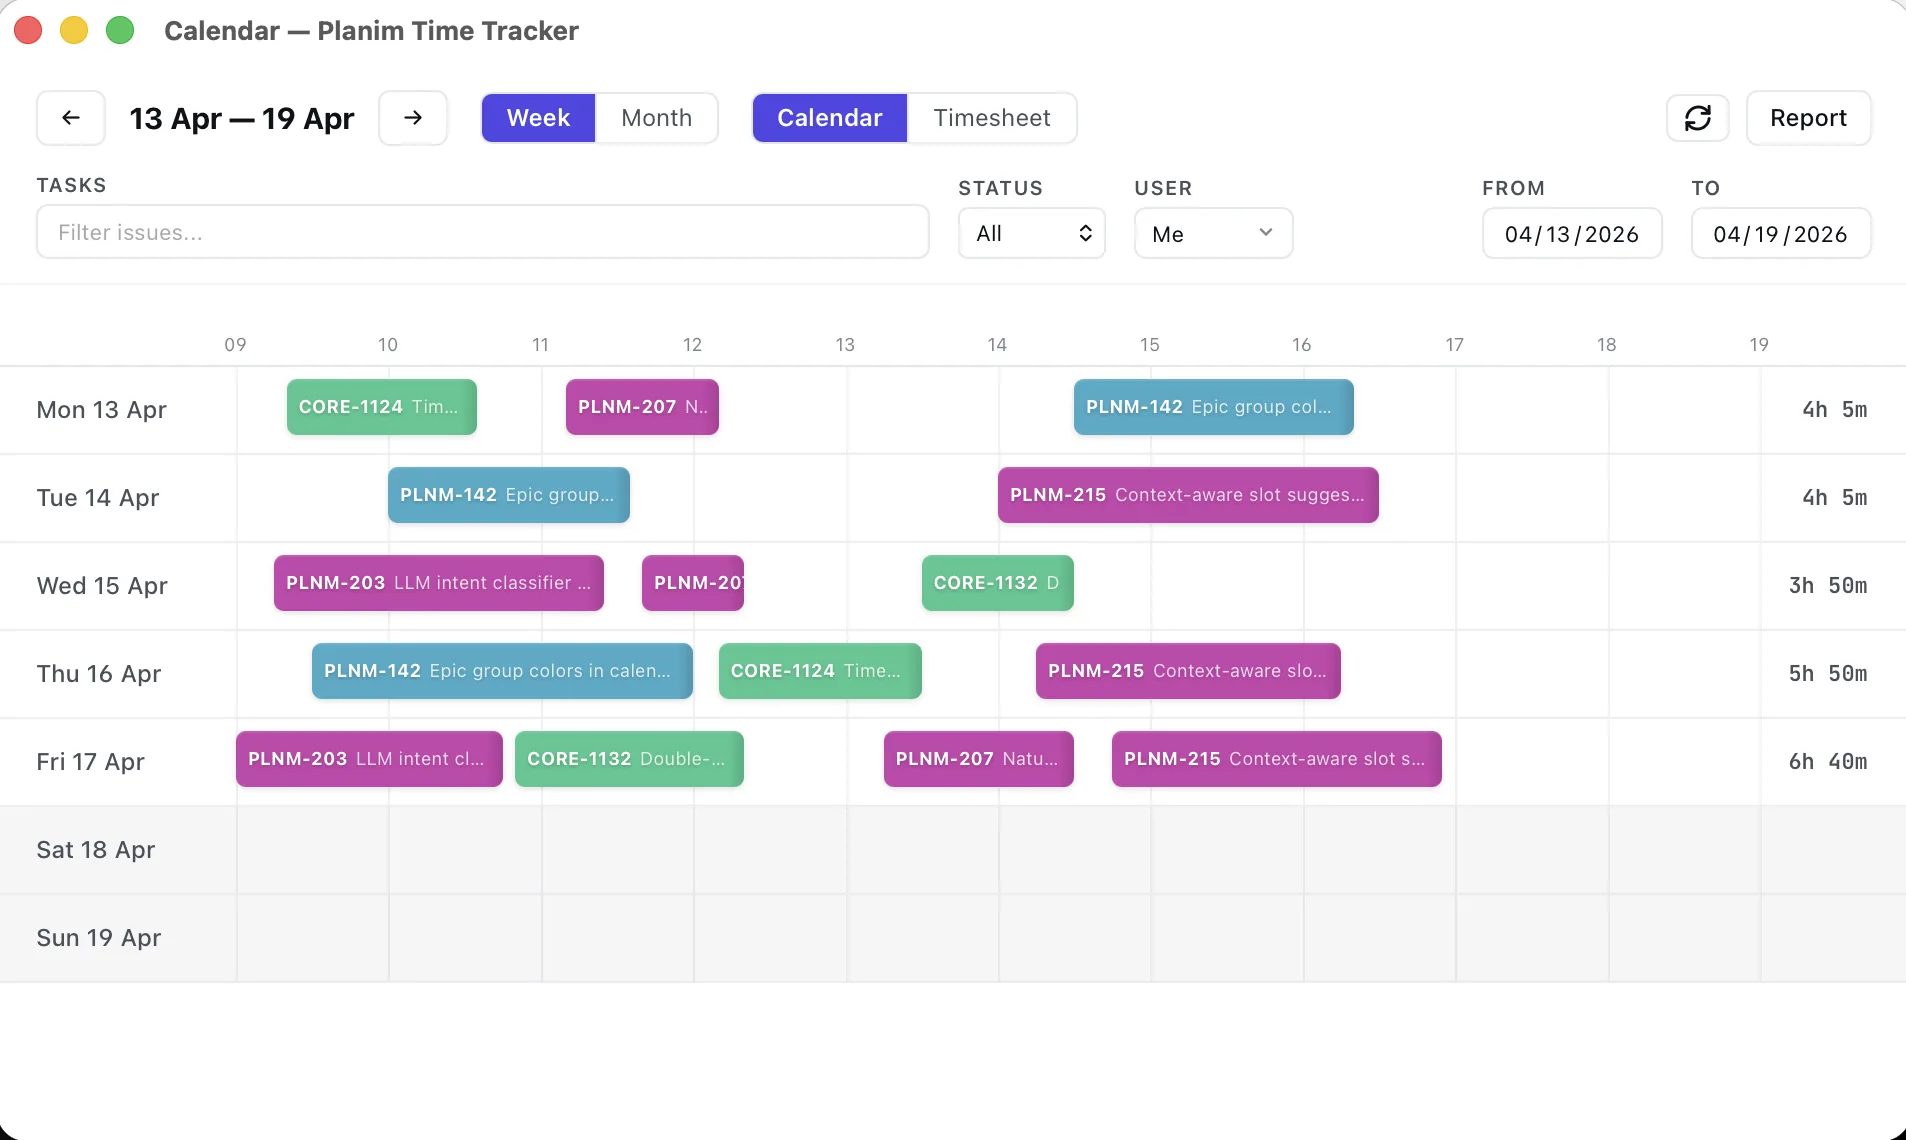
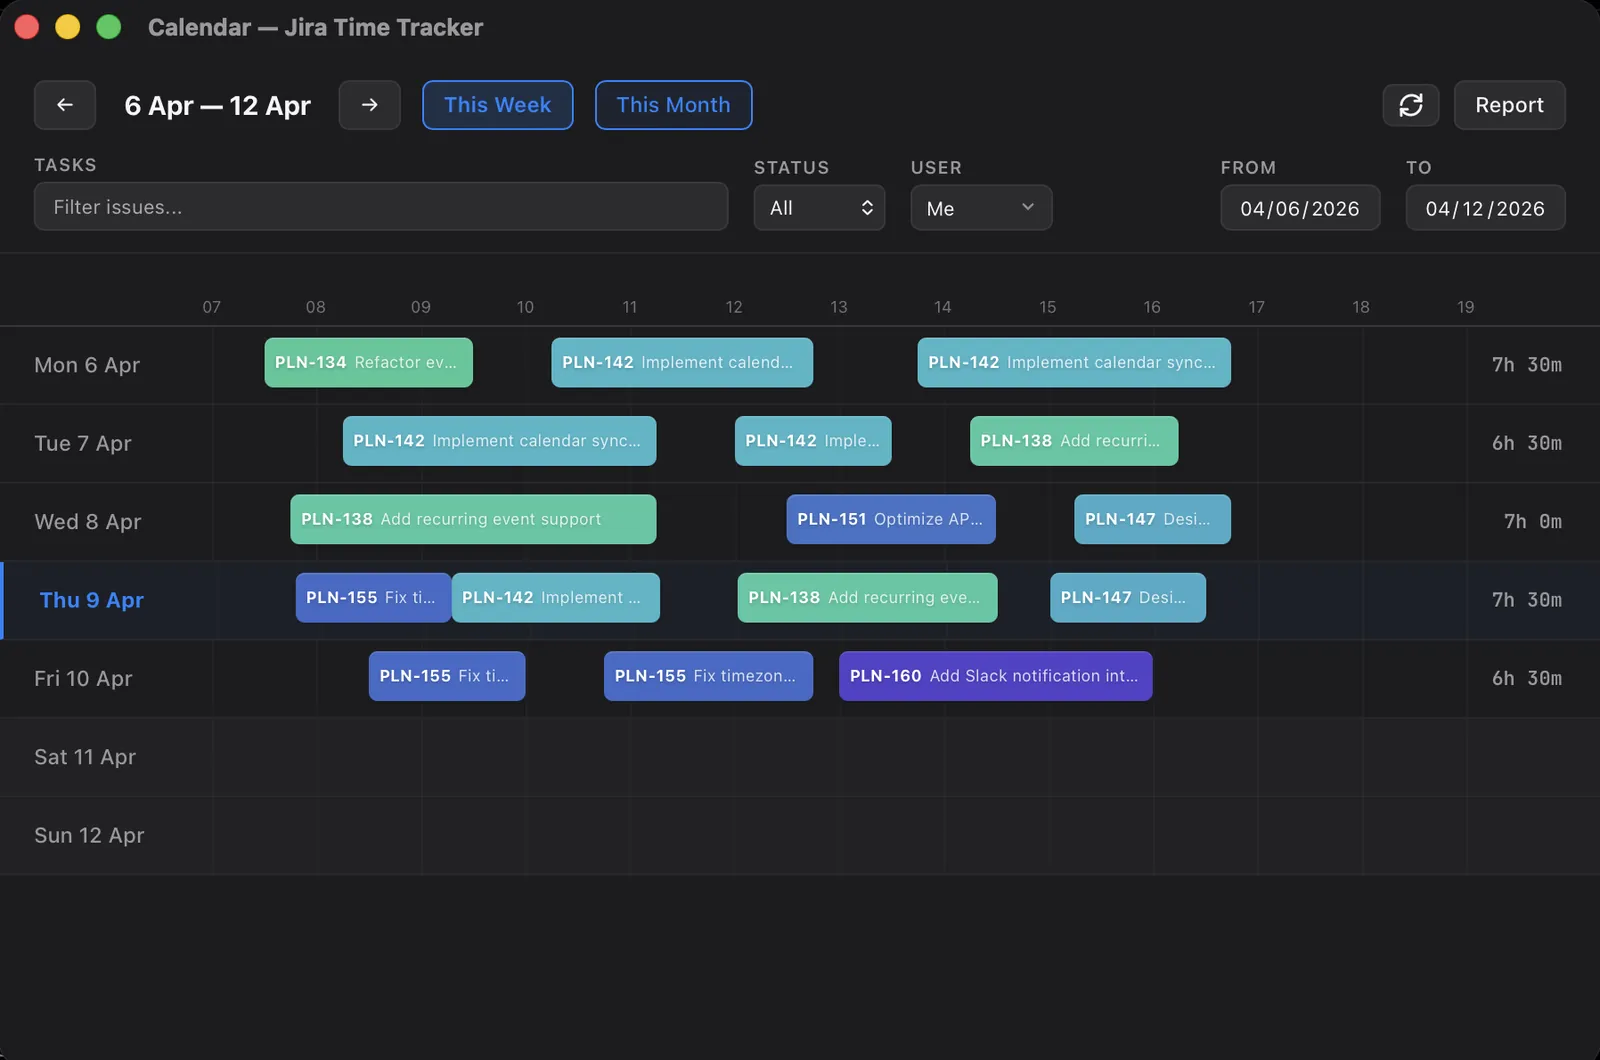
Planim Time is a small app in the menu bar or system tray that lists your Jira issues and writes a normal worklog when you stop. The details below come from its code.
The issue list is a JQL query, by default assignee = currentUser() ORDER BY updated DESC, so your own issues across every project appear without setup. Each row has a play button. Press play on a different row while a timer is running and the first one stops on its own before the second starts. The timer state lives in a local SQLite database and the per-second tick runs in the Rust backend, so quitting and reopening the app brings the same timer back.
While it runs you get Pause, Resume and Stop & log, plus a What I’m working on field. Pause closes the current segment as its own pending entry and the counter keeps the session total for Resume. Stop turns the segment into a pending entry with the measured start time and duration. At this point nothing has reached Jira. In the Work Logs tab, Push posts one entry to the issue’s worklog endpoint with the note as the comment, and Push All sends every pending entry for the selected day. Durations are rounded up to the next whole minute, since Jira rejects sub-minute worklogs. A failed push stays in the queue marked as an error, to be pushed again by hand.
Starting and stopping never call Jira, so the timer works with no network at all. Entries wait as pending, original start time intact, until you push them. There is no automatic push when the connection returns, so the pending count in Work Logs is the thing to check after a flight.
The tray icon changes with the state: running, paused, idle. On macOS, turning on Menu bar display puts a live PROJ-142 00:47:12 next to the clock. Windows has no text next to tray icons, so there the icon carries the state and the window shows the count. On Linux the text goes to the panel where the panel supports indicator labels.
Two things people ask for are missing. There is no global keyboard shortcut, so starting is a click on the tray icon and a click on the row. And there is no mobile app: worklogs logged from the Jira mobile app are pulled into the desktop Work Logs tab for that day, but the timer itself is desktop-only.
The Pro tier adds the automation around the clock. When an issue assigned to you moves into a status you chose, such as In Progress, a Start Tracking? notification appears with one click to begin. When the tracked issue moves into a finishing status the timer stops on its own. Auto-push on stop skips the Push step. Idle detection asks what to do with a gap after 5 to 60 minutes without input (keep it, subtract it, or stop at the moment you left) and exists only on macOS and Windows, because Linux has no unified idle API. Why it prompts instead of starting silently is covered in what automatic Jira time tracking means, and the case for a native binary in why a desktop Jira time tracker.
Which Jira timer for which situation
| Situation | Timer that fits | Where the hours land |
|---|---|---|
| A few entries a day, no installs allowed | Log work with a start-time note | Jira worklog, date typed by hand |
| Team already on Tempo, Clockwork or the Clockify app | The app’s issue-view timer | Jira worklog, or Clockify entry synced back |
| Solo, browser-centric, Jira is not the system of record | Toggl or Clockify extension | Vendor cloud, Jira only with a sync path |
| Solo or small team, Jira stays the record, no admin install | Desktop timer (Planim Time or similar) | Jira worklog, pushed from a local queue |
| Timer must run on a phone | A vendor’s mobile app, or Log work in the Jira mobile app | Vendor cloud, or a Jira worklog typed by hand |
Since Jira itself will not give you a clock, the choice comes down to where the worklog should end up and who is allowed to install things. When the answers are “on the Jira issue” and “me”, a desktop timer is the shortest path. When a timesheet product the company already pays for is in the picture, its button is the one to use.